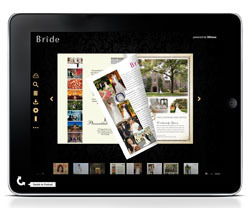
 Creating an iPad Magazine is so simple and straightforward. All you need to do is follow a eight simple steps. First of all you need to research software that can create an iPad Magazine. Today we will use 3D Issue as an example.
Step 1: Purchase and Download 3D Issue Software
When you purchase the Professional version of 3D Issue software you can create an iPad Magazine that is interactive. It allows you to add weblinks, videos, audios, galleries and much more.
Step 2. Add Logo and Domains
Simply upload your company logo and the domains which you wish to host your magazine on.
Step 3: Import your PDFs
Chose which PDFs you wish to covert in order to create an iPad Magazine.
Step 4: Design and Create an iPad Magazine
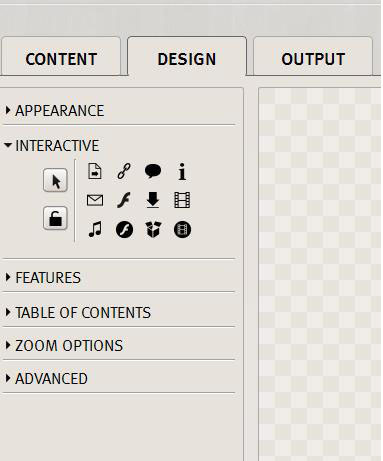
This step is where all the creativity takes place. Go to the design tab here you can change the appearance of your magazine by adding some colour, changing the position of thumbnails and the navigation panel and add advertising in the Intro and Top Banner sections of the iPad Magazine.

Step 5: Adding interactivity when creating an iPad Magazine
Staying on the design tab you can add buttons and hotspots to your magazine. Such interactivity includes web links, email links, comments, audios, videos and galleries. Select what features you want end readers to see and use then create your table of contents.
Step 6: Select the formats you want your magazine to show on
Moving to the Output Tab you can then select what formats you want to create for, so not only will you create an iPad Magazine but you can also create magazines for online viewing, desktop reader, PC and Mac standalones, Facebook app, and android and iOS apps.
Step 7: Upload FTP Details
Staying on the Output tab you can upload your FTP details to automatically upload your magazine then click Build. Your magazine will spend a moment building and you will be presented with your digital magazine.
Step 8: Well done you just learned how to create an iPad Magazine.
Use the Url to share with friends, family, colleagues and potential customers.


