Experios provides a way for you to create a set of default styles that can be used across publications. This allows you to quickly apply your own branding to new publications without having to set up fonts and colors each time you start a project.
To see your Brands, click on the Profile icon at the top-right of the screen, and select My Brands from the dropdown menu.
On the My Brands screen, you will see the Brand Wizard. This makes setting up a Brand quick and easy by asking for, among other things, your brand’s main colors, fonts, logos, etc. Underneath the wizard is the Advanced Brand Editor, allowing you to fine-tune options not covered in the Wizard. The My Brands screen looks like this:
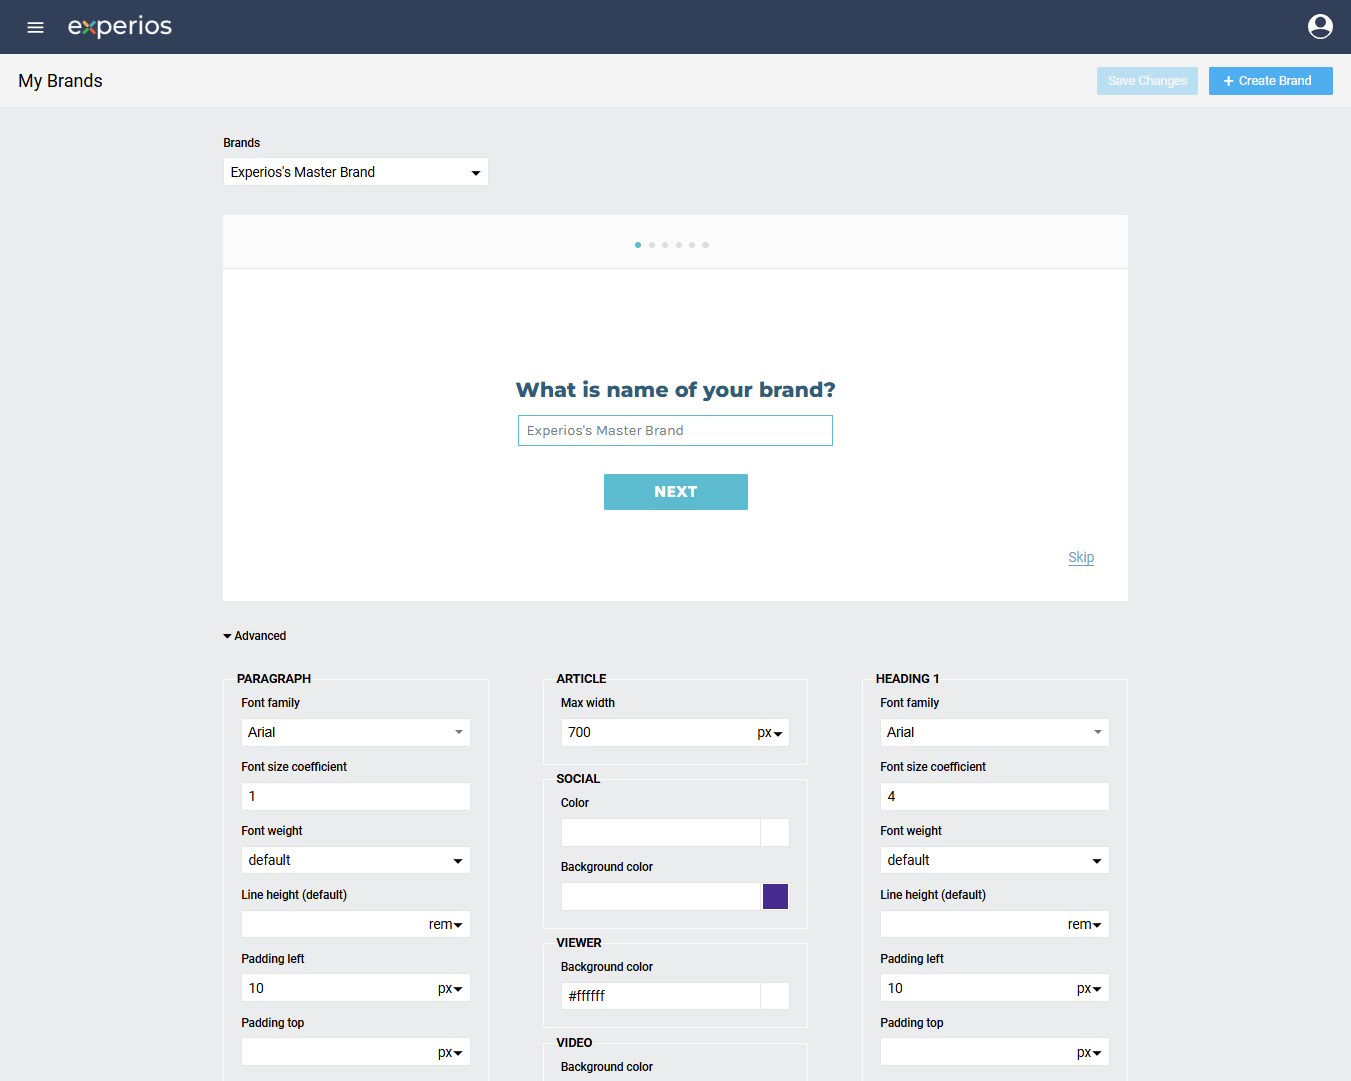
Initially, the only option available in the Brands dropdown menu will be ‘Experios’s Master Brand’. Any changes made here and committed using the Save Changes button will be saved to the Experios Master Brand.
You can create a new Brand by clicking on the Create Brand button and giving your new Brand a name in the pop-up dialogue that appears. Once your Brand has been created, you can begin to make changes using the Wizard or the Advanced Editor, before saving them.
Once you have saved your own styles to your Brand, you can access them for further editing using the Brands dropdown menu. You can also use this menu to delete or rename your styles using the trashcan and pencil icons to the immediate right of the dropdown.
Applying your Brand to a Project
After you have defined a Brand, you can use it to apply your own default styles to your projects. In order to do so, click on the Project Style icon to the top-left of the Canvas. This will open the Project Style Panel. To load your Brand styles into the Project Style Panel, click on ‘Apply Brand’ and select a Brand from the dropdown menu. To then apply these styles to your project, click on ‘Apply Changes’.
Once you have done this, any content added to your project will be styled as defined in your Brand defaults.